My Hawaiian Mom’s Secret to the Best Butter Mochi
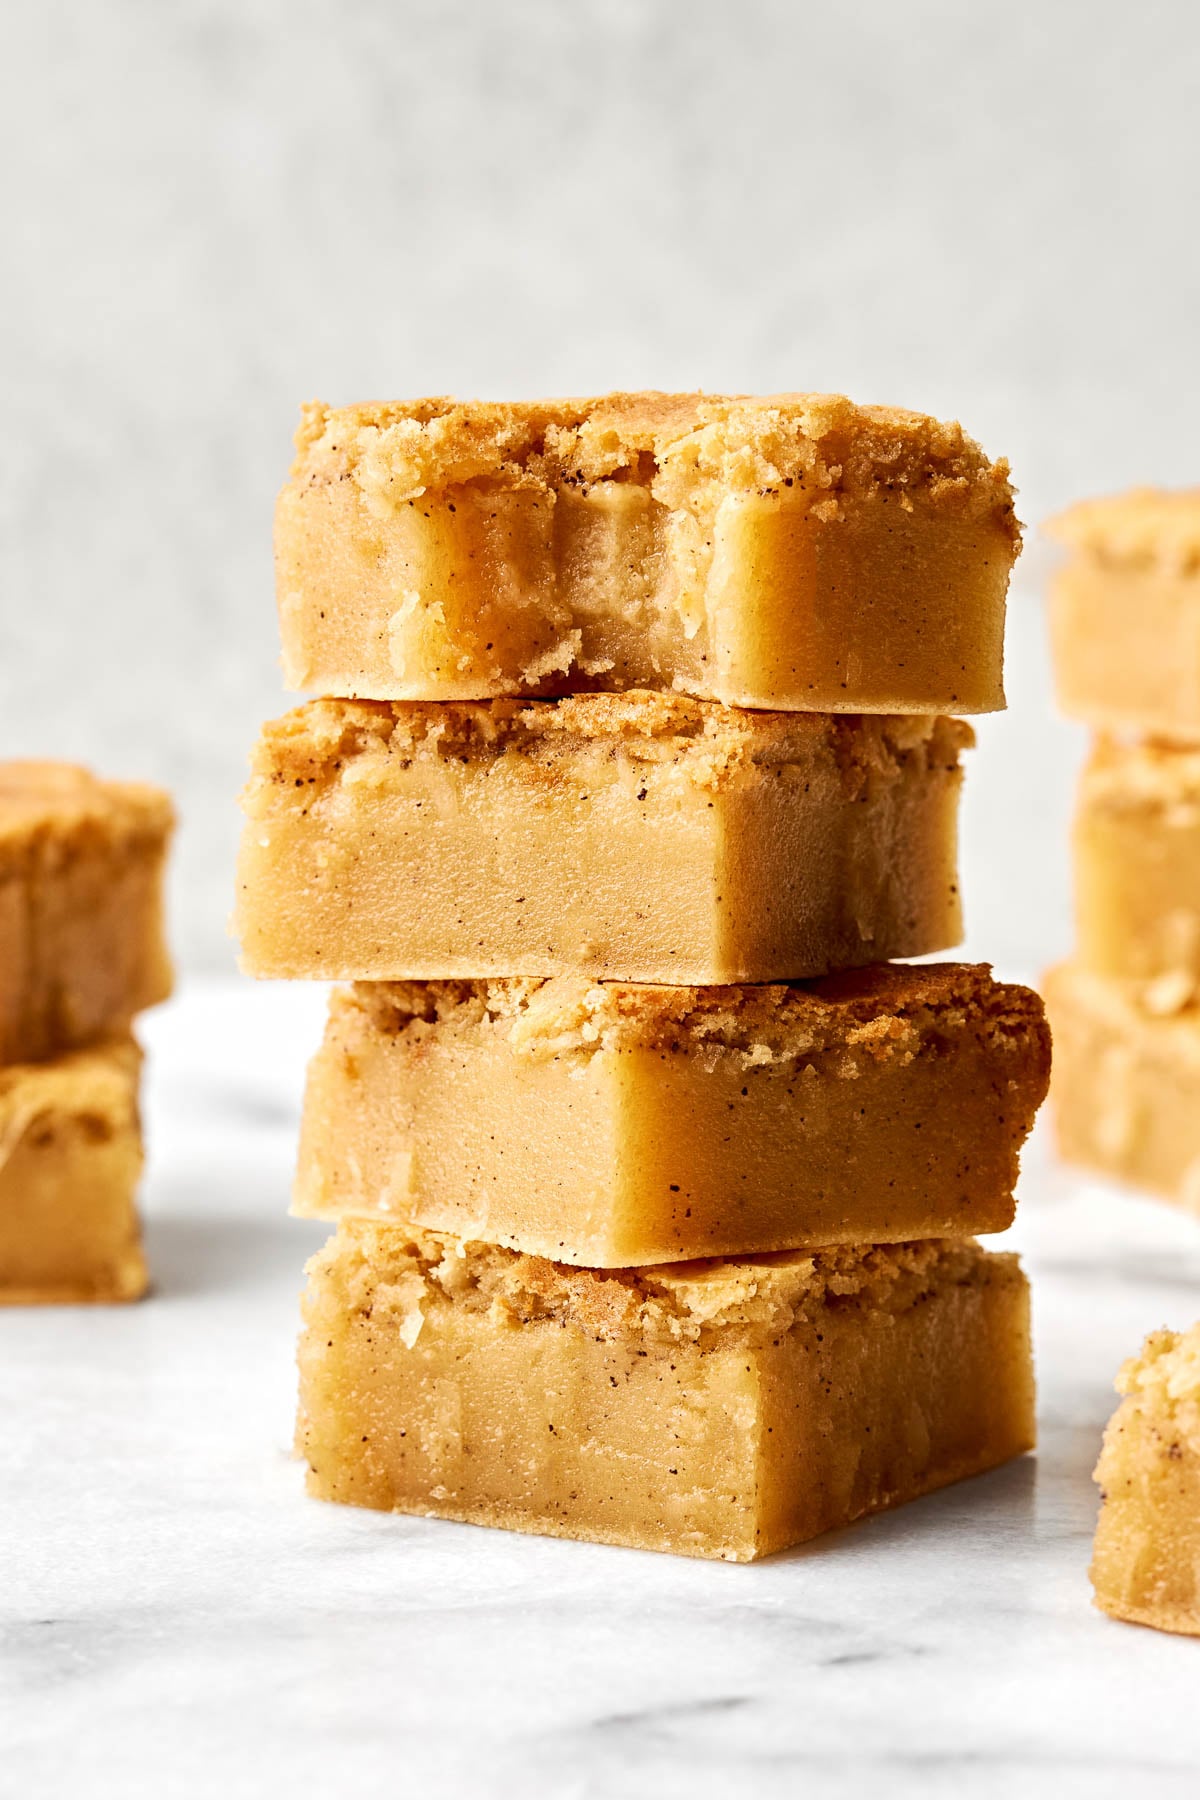
Butter mochi is an iconic Hawaii-style dessert that I always look forward to when visiting my family. Part cake, part bar, and part chewy Japanese mochi, it’s a confection that’s just as fun to eat as it is delicious—and totally unique to the islands.
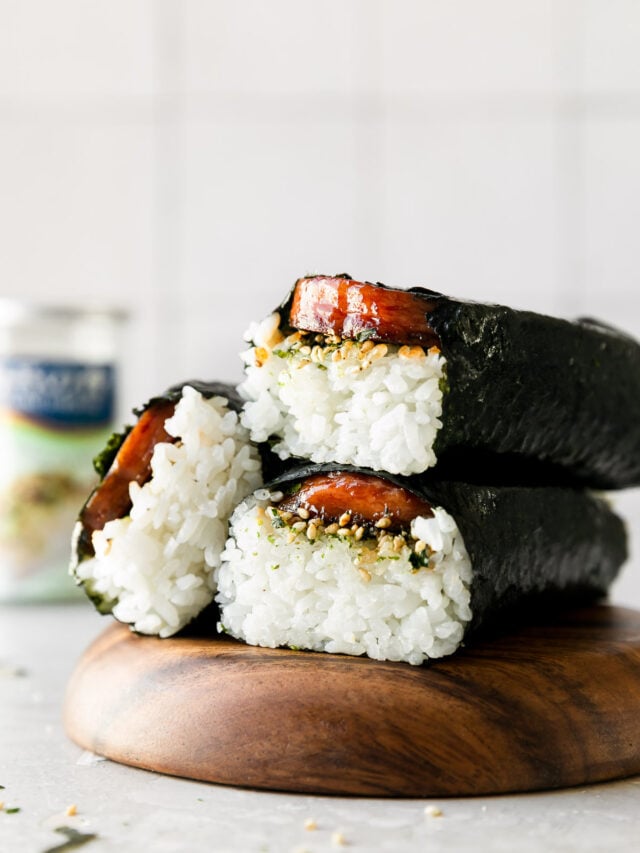
Like many local favorites, butter mochi reflects Hawaii’s diverse food culture—a blend of Japanese, Chinese, Filipino, Portuguese, and Native Hawaiian influences. Here, Japanese mochiko flour pairs with the rich, buttery flavors you find in European baking, creating something uniquely Hawaii-style—just like Spam Musubi or Mochiko Chicken, but for dessert! 😋🤙🏼
In Hawaii, you can find boxed butter mochi mixes in just about every flavor imaginable—ube, matcha, peanut butter, you name it! But homemade butter mochi is surprisingly easy to make with simple pantry ingredients.

And while most families have their go-to recipe, my mom’s is my forever favorite. She swaps regular melted butter for browned butter, infusing a deep, caramelized nuttiness that perfectly balances the sweetness. Mom always knows best! 😉
Simply mix up the batter, bake until golden, and slice into perfectly chewy, bouncy squares. The hardest part? Stopping at just one piece!
A Taste of Hawaii at Home
18+ cherished family recipes, from my ‘ohana to yours.

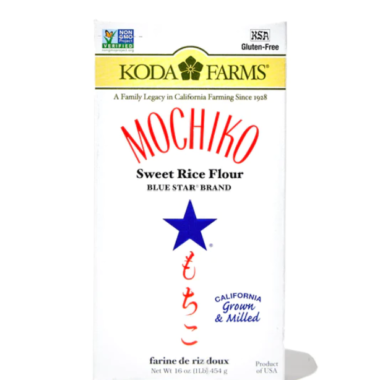
Mochiko flour is a Japanese rice flour made from glutinous short-grain sweet rice—glutinous meaning sticky, not gluten-containing. It’s subtly sweet, light, and bouncy, giving butter mochi its signature soft, chewy texture! My go-to is Koda Farms “Blue Star” Mochiko.
Hawaii-Style Mochi Must-Haves
 Buy Now →
  Buy Now →
Zwilling Madura Plus Non-Stick Fry Pan
Buy Now → Buy Now →
Stainless Steel Measuring Cups & Spoons
Buy Now → Buy Now →
 How to Make Butter Mochi with Browned Butter
Mom’s brown butter mochi batter is SO simple to make—just 15 minutes of mixing, then the oven does all the work!
🥛Dairy vs. coconut milk ⇢ Many Hawaii-style butter mochi recipes use coconut milk, but Mom’s recipe sticks with dairy. Its more neutral flavor lets the browned butter shine instead of competing with it. Prefer coconut milk? Go for it! Just note you may lose some of the nutty, toasty richness.
👩🏻🍳Baking tip! ⇢ This butter mochi recipe bakes in a 9×13 pan for easy-to-slice bars. You can also use two 8-inch pans or muffin tins – just check the Recipe Notes for adjusted baking times!
Slicing and Serving
Butter mochi’s soft, sticky texture can make it tricky to cut. Mom swears by a plastic knife—it glides through cleanly without sticking! No plastic knife? A lightly oiled metal knife works too.
Hawaii-style butter mochi is best enjoyed warm and shared with others. It’s the perfect treat for parties, family gatherings, or gifting to friends and neighbors—a true taste of aloha! 🌺🥰
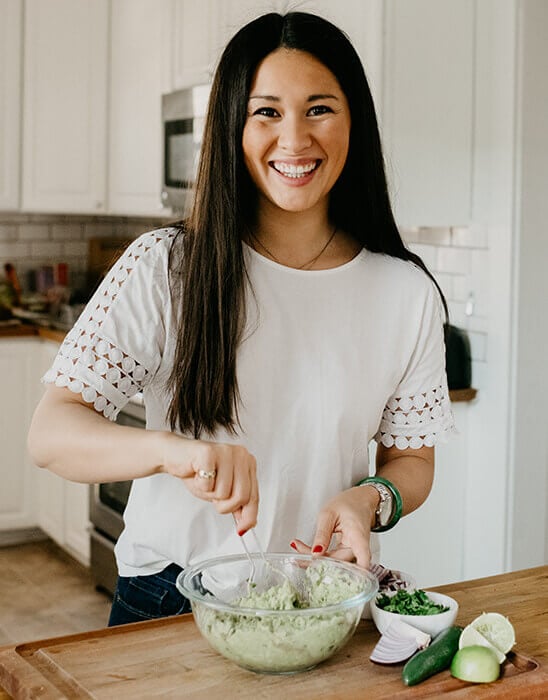
I can’t wait for you to try this Hawaii-Style Browned Butter Mochi! If you do, be sure to let us know! Leave a comment with a star rating below. You can also snap a photo and tag @playswellwithbutter on Instagram. We LOVE seeing your PWWB creations! ♡ Happy cooking!
Print
Mom’s Hawaii-Style Browned Butter Mochi
- Prep Time: 15 minutes
- Cook Time: 1 hour 5 minutes
- Total Time: 1 hour 20 minutes
- Yield: 20 pieces 1x
- Category: Candy & Sweets, Breads & Cakes, Hawaiian Recipes
- Method: Baked
- Cuisine: Hawaiian
- Diet: Gluten Free
Description
Somewhere between a buttery bar and chewy Japanese mochi, Hawaii-Style Butter Mochi is a beloved local treat!
My mom’s recipe puts a twist on the classic, using nutty browned butter for rich, toasty depth in every bite. Baked until golden with flecks of coconut, this easy Hawaii butter mochi is crispy on top, soft and chewy in the center, and completely irresistible.
Ingredients
- nonstick cooking spray
- one 16-ounce box (approx. 2 ¾ cups) mochiko flour (Japanese glutinous sweet rice flour; see Recipe Notes)
- 2 cups granulated sugar
- 1 ½ teaspoons baking powder
- ½ teaspoon kosher salt
- ½ cup + 2 tablespoons unsalted butter
- one 12-ounce can evaporated milk
- 1 ½ cups whole milk
- 4 large eggs
- 1 ½ teaspoons pure vanilla extract
- 1 cup sweetened coconut flakes
Instructions
- Prep: Preheat the oven to 350°F, ensuring a rack is positioned in the center. Lightly spray a 9×13-inch pan with nonstick cooking spray and set aside.
- Mix the dry ingredients: In a large mixing bowl, whisk together the mochiko flour, sugar, baking powder, and salt until well combined. Set aside.

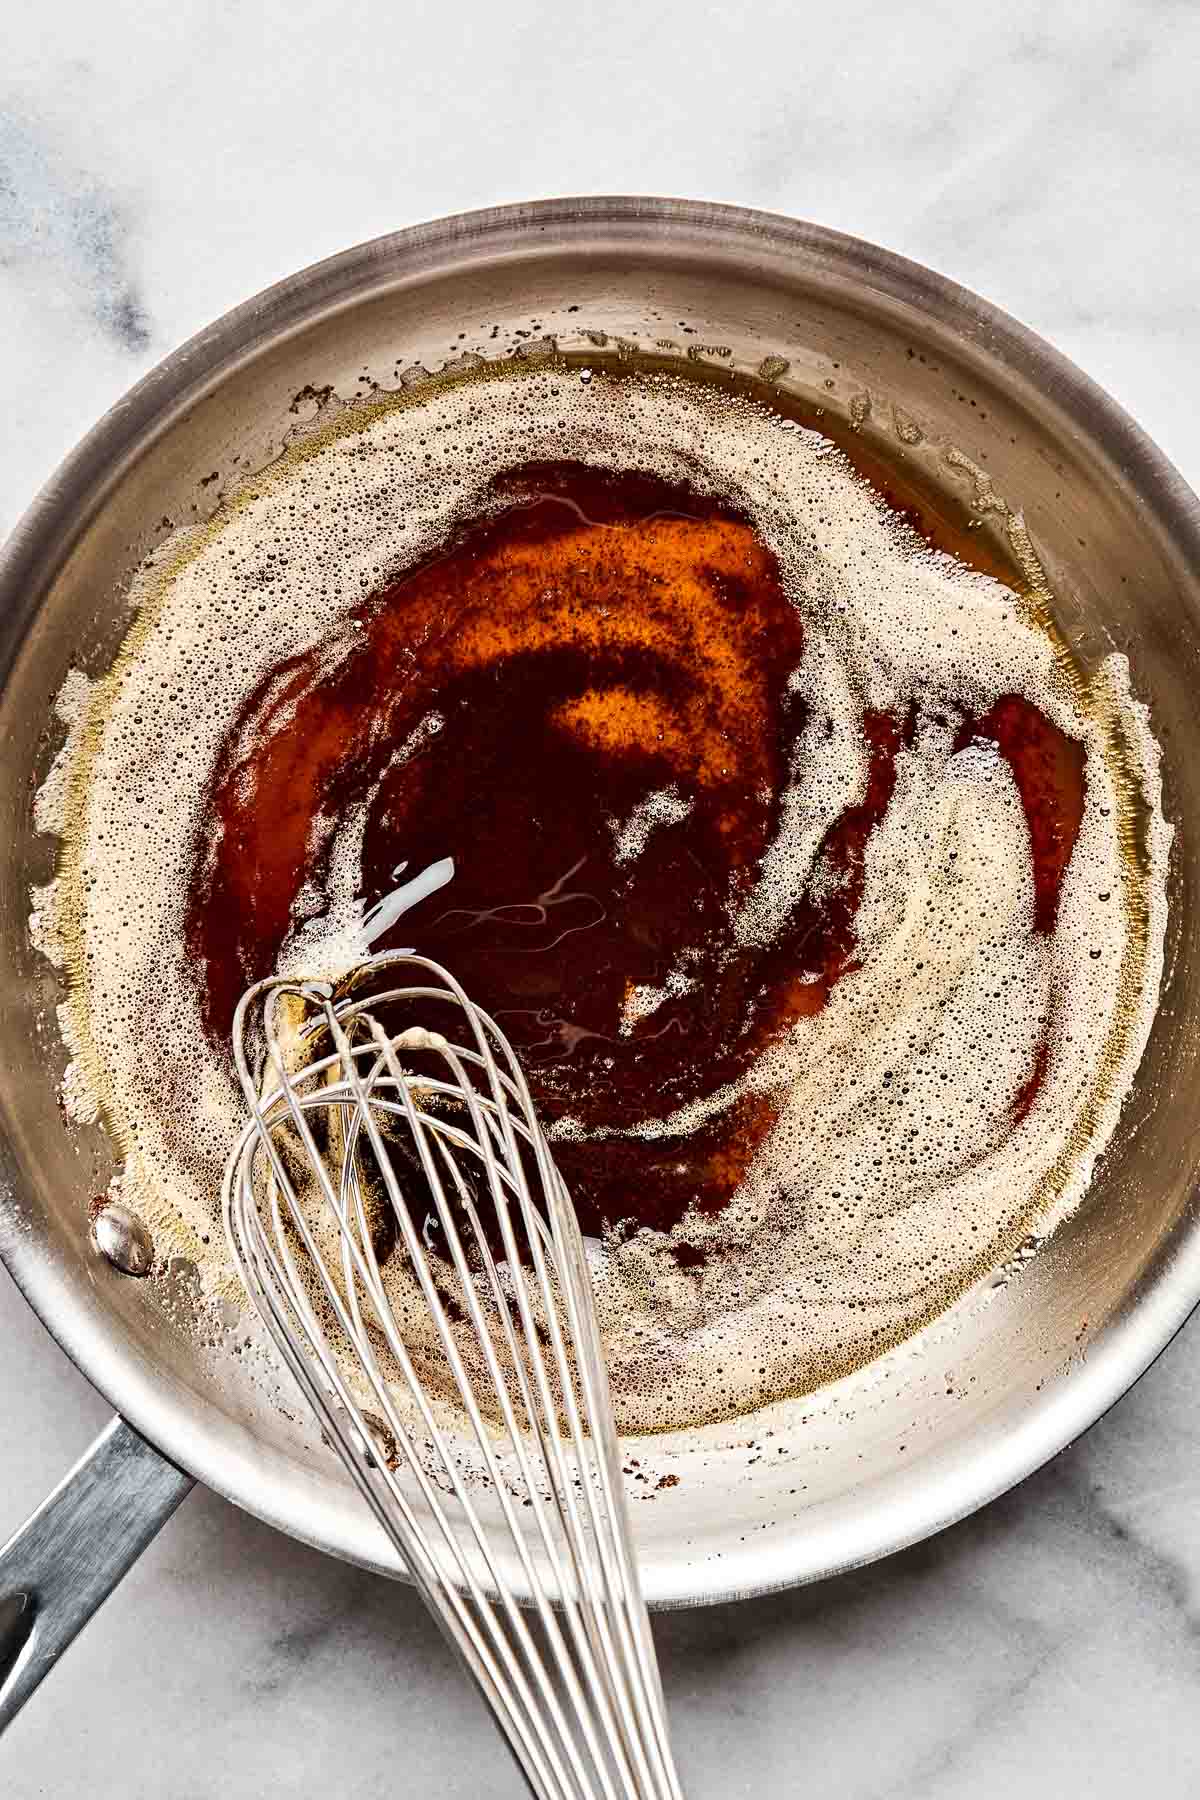
- Brown the butter: In a medium skillet over medium-high heat, melt the butter. Cook 3-4 minutes, swirling the pan or gently stirring to prevent burning, until the butter is browned and has a rich amber color. Remove from heat and stir for 20 seconds to cool slightly. Set aside.
- Mix the wet ingredients: In a second large mixing bowl, whisk together the evaporated milk, whole milk, eggs, and vanilla. While whisking constantly, slowly pour in the browned butter from Step 3.
- Finish the butter mochi batter: Gradually add the dry ingredients to the wet mixture, whisking until just combined. Fold in the sweetened coconut flakes until evenly incorporated. Pour the batter into the prepared pan.
- Bake the butter mochi: Bake for 55-60 minutes, or until the butter mochi is set with a golden-brown top and a toothpick inserted in the center comes out clean. Remove from the oven and let cool for about 10 minutes—this brief cooling allows the mochi to shrink slightly away from the sides of the pan, making it easier to slice.
- Slice and serve: Once cooled slightly, use a plastic knife to slice the mochi into pieces—the plastic prevents sticking for clean cuts. If you don’t have a plastic knife, rub a metal knife with neutral oil and wipe it clean between cuts to prevent sticking. Serve immediately while warm for the best texture and flavor. Serve while still warm. Enjoy!


Notes
Jess’ Tips and Tricks:
- Mochiko flour is a Japanese sweet rice flour made from glutinous short-grain rice. Despite its name, sweet rice flour is naturally gluten-free and not inherently sweet. The “glutinous” quality of the rice gives mochiko its signature bouncy, chewy texture, making it perfect for Japanese mochi, dumplings, and, of course, butter mochi! Koda Farms “Blue Star” Mochiko is the most commonly used variety in Hawaii and is often available at Asian grocery stores with a well-stocked Hawaii section or online. Alternatively, the “Elephant” brand glutinous rice flour works beautifully for this recipe.
- Alternate pan sizes: This recipe is flexible and works well in different pans:
- Muffin Tin: Use a standard 12-cup muffin tin and reduce the baking time to 10-20 minutes.
- Two 8-Inch Pans: Divide the batter between two 8-inch pans and bake for 40-45 minutes.
Storage and Freezing:
- Storage and Reheating: Brown butter mochi is best enjoyed warm, right after baking. Leftovers can be stored covered at room temperature for up to 2-3 days but will become denser over time. After that, transfer any leftovers to the refrigerator, where they will keep for an additional 2-3 days. Enjoy leftovers warm—to reheat, microwave individual slices for 10-15 seconds to soften them.
- Freezing Instructions: Cool the mochi completely, then wrap it tightly in several layers of plastic wrap before placing it in a freezer-safe bag. Freeze for up to 1 month. To enjoy, thaw overnight at room temperature.
Follow along with Plays Well With Butter on Instagram, YouTube, Facebook, and Pinterest for more unfussy recipes that pack a big punch of flavor!


Delicious! I’m not a huge fan of coconut but I found that the flavor wasn’t too strong in this recipe. Perfectly sweet and the browned butter flavor really is to die for!
So glad you enjoyed the mochi, Chloe! Thanks so much for taking the time to leave a review!